This was an interesting loft conversion to complete and differs from the usual loft conversion we’ve done over the years. The family have two sons who are keen musicians. The drum playing down stairs and jam nights with their friends took their toll and the family decided to create a sound proof room upstairs in their loft space.
Being a large detached house they were able to create two bedrooms and a good size bathroom. One of the rooms created had the walls and floor acoustically lined.

The roof structure needed to be altered each end making them into gables. The timber is on standby ready to be hoisted up via the crane.
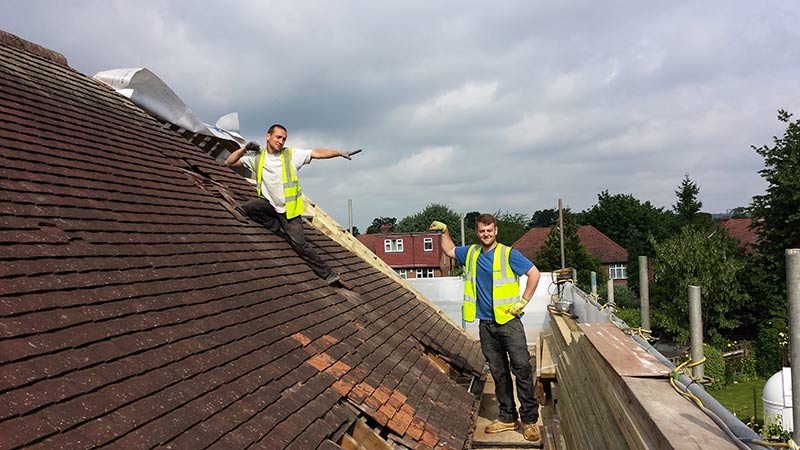
The team.

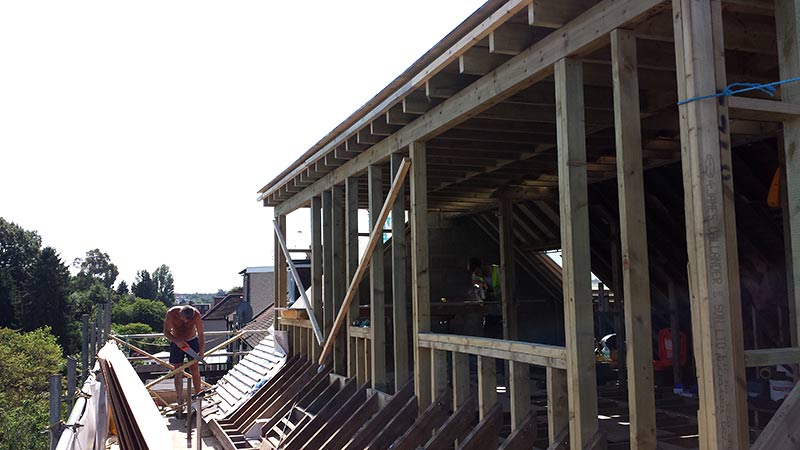
The team are setting out the wall of the dormer. With the tiles already stripped, this is built in two days.
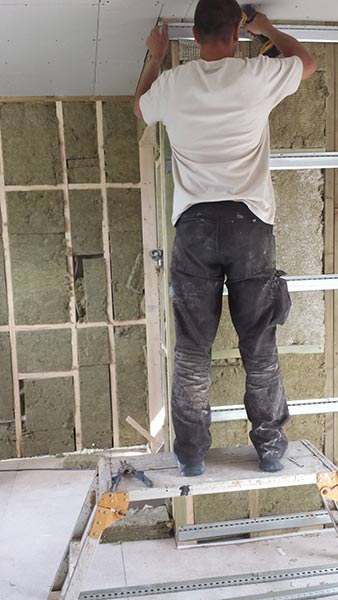
The acoustic slabs are placed between the stud partitions. Then the resilient bars are fitted to stop the vibration and the acoustic plaster board is fitted. The floor is not screwed down and laid over cushioning strips.
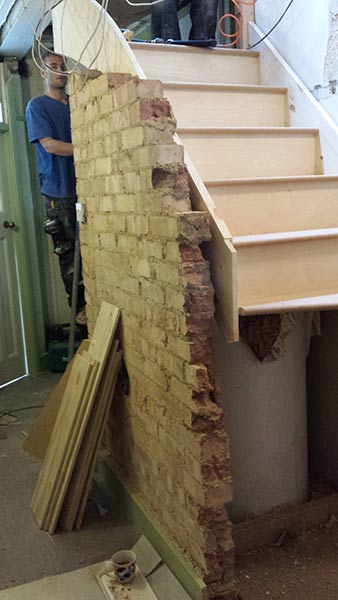
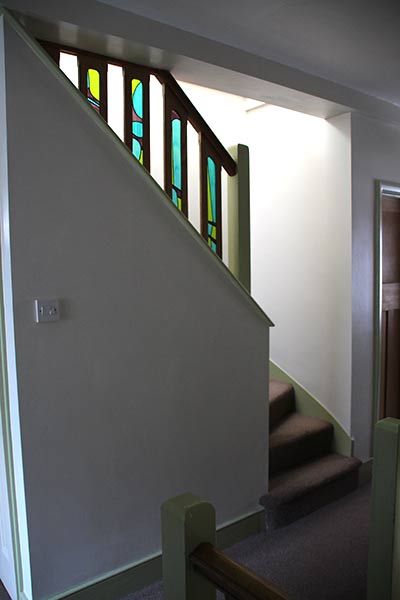
The stair case was cleverly made between the cylinder cupboard. Meaning that no rooms were sacrificed to gain access to the loft.
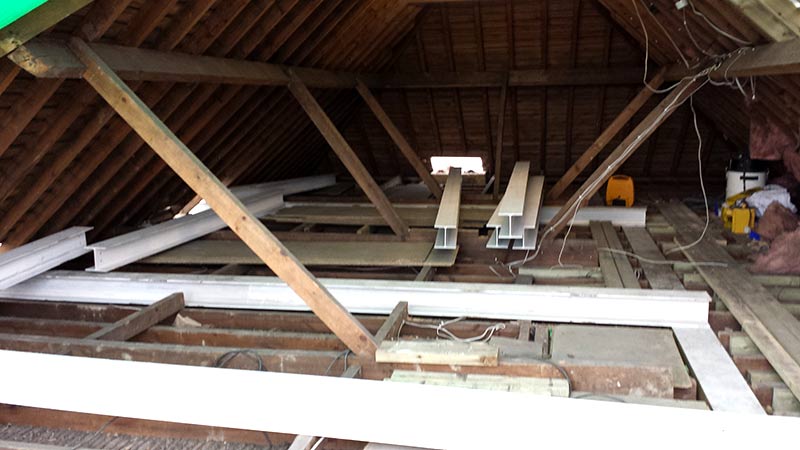
A lot of steel work goes into creating this loft. Usually only three steels are needed.
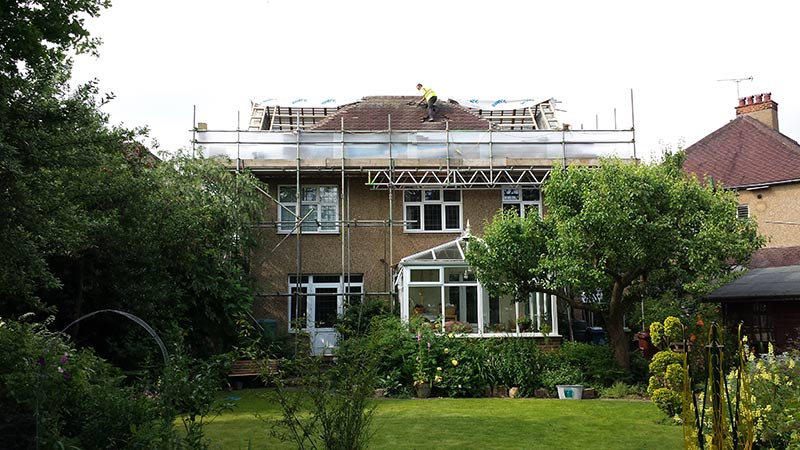
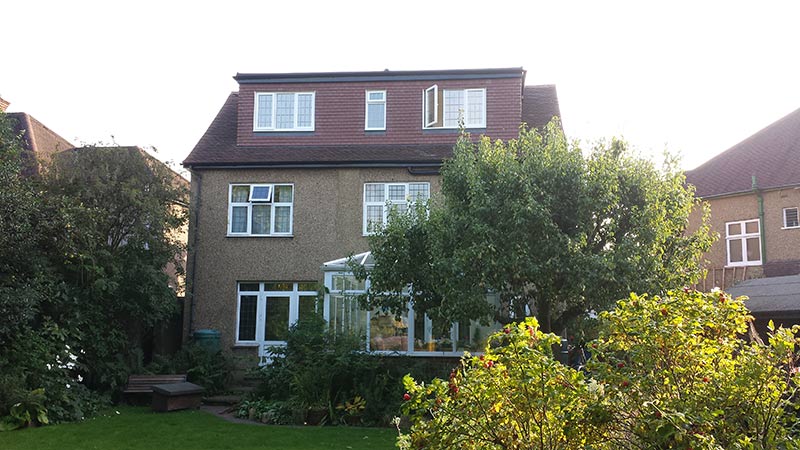
From the rear of the property the gables are both complete and now we would be ready to start the construction of the dormer.
Roofing subcontractor setting out and tiling the new roof and dorma.
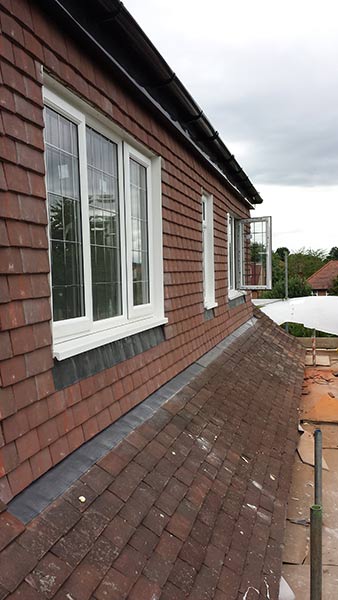
The completed dormer.
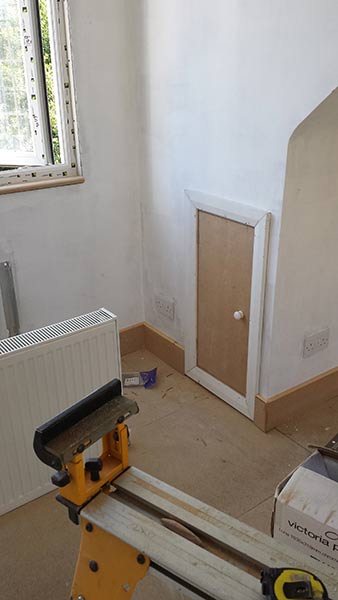
Useful cupboard space in the other bedroom.
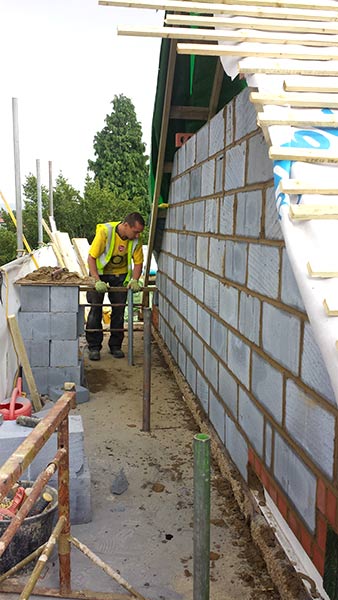
One of the gable ends being built. The scaffold boards were covered with hardboard reducing falling debris & the sides were also cladded.

Drilling the steel beams to then be bolted together. The dormer walls would then be built on top of this.

Here the roofer is pinching in the tiles on the dormer, while topping up his tan!

Dashing the gables now that the roof has been completed. Soon the scaffolding will be taken down.
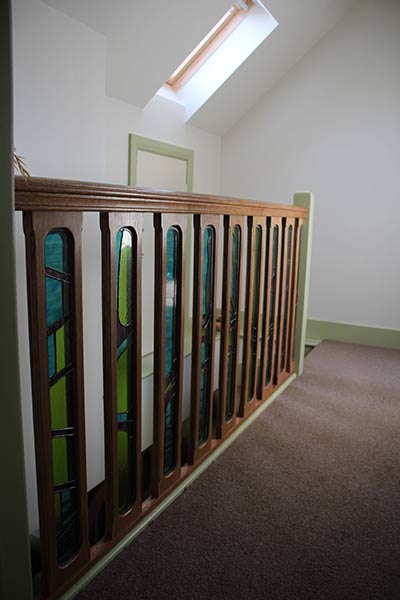
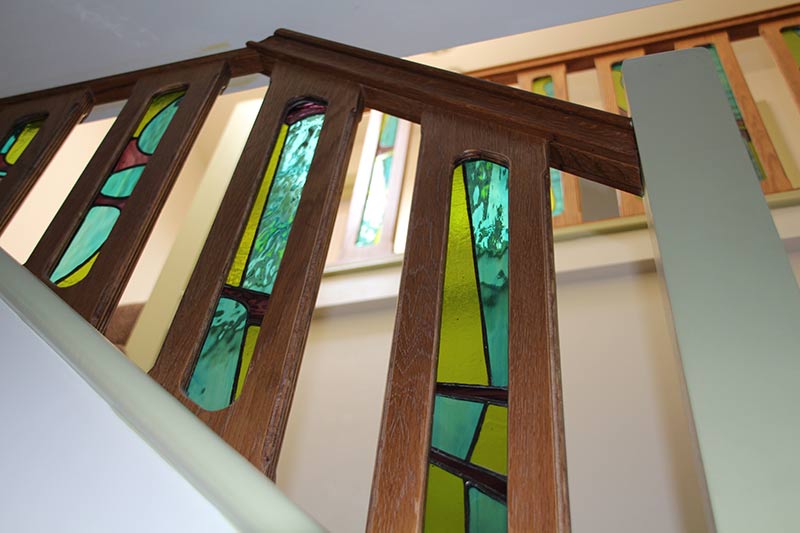
The top of the stair case looks great. The stain glass inset ballast rails were lovingly made by the home owner.
Job done!